
Agency: Get started with three easy steps

How exciting that you have registered an account! You are only two steps away from a smoother collaboration, get started right away using these simple steps below.
When you’re about to set up an account for your client, you can choose whether you want to invite team members or create projects first.
Invite members

Start by adding a client
Admin panel > Clients > Add client
You need to create a client before you can invite a client user. A client is also required to be able to create projects and upload files.
Already invited colleagues to your team? If so, you can, in this step, assign these people access to the client (the persons will be notified).
Follow the simple steps in the following video.
Tip! You can also use the plus button next to the client list in the dashboard, as a shortcut to add clients. However, it’s good to know about the Admin Panel for you who will manage clients and users.

Invite users to client account
Admin panel > Clients > Invite user
Once you have created a client, you can invite a user to this account. These people are usually the ones who will review the media that you and your colleagues upload.
Enter name, email address and role.
Good to know! An invitation is sent to the person's inbox. Here, the person in question creates their login with a personal password.

Invite a team member
Admin panel > Invite user
Invite a colleague to your own team. Enter name, email address, role and assign the clients that the person in question will have access to.
If you have not created a client yet, you can instead grant access as you add a new client, or simply edit these settings afterwards via the Admin panel (the person will be notified).
Tip! Use the plus button next to "My Team" in the dashboard, as a shortcut. However, it’s good to know about the Admin Panel for you who will manage users.
Good to know! An invitation is sent to the person's inbox. Here, the person in question creates their login with a personal password.
Upload media

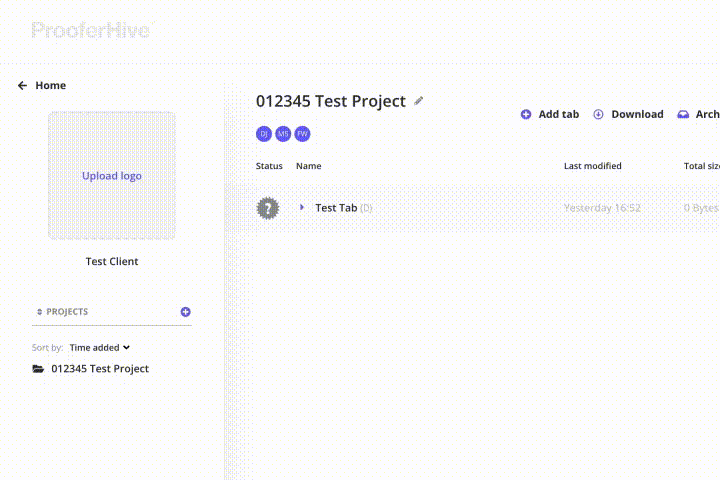
Start by creating a project
Choose client > Add project (+)
Uploading files requires, first of all, that you have created a client, because each client has its own list of projects. If you need to create a client first, scroll up to the first step in this post.
Start by select the client, from the list in the dashboard, that you want to provide with a project, and then follow the simple steps in the following video.
Good to know! The relevant project participants will be notified that the project is available.

Add a tab
Select project > Add tab
Tabs or "folders" exist to create structure in a project in the form of subcategories. Add tabs and then upload files to them.
Tip! Enter an appropriate deadline by clicking on the date icon in the window to select a date.
Upload media
Click "upload" or "browse" to locate the files on your computer, or drag and drop the files directly over the tab, as in the following example.
Good to know! We support most file formats.
When you upload a multi-page PDF, as in the following example , it is "split" automatically so that you can easily view each page separately.
Project participants are notified when uploading files.